How To Tune A Drumline

So, you’ve somehow found yourself in charge of a drum line. You probably want to make sure the line sounds as good as it can. One of the biggest keys to this is tuning.
The two main steps to tuning a drumline are tuning each individual drum (top and bottom head when applicable), and then tuning each drum to its neighbor. Except bass drums which are tuned all to their own pitch, usually in the key of the marching show.
Basic Drum Tuning Procedure
This procedure applies to your snare line, tenor line, and bass drums with some differences that are discussed along the way. Let’s get started.
1 – Get a drum key
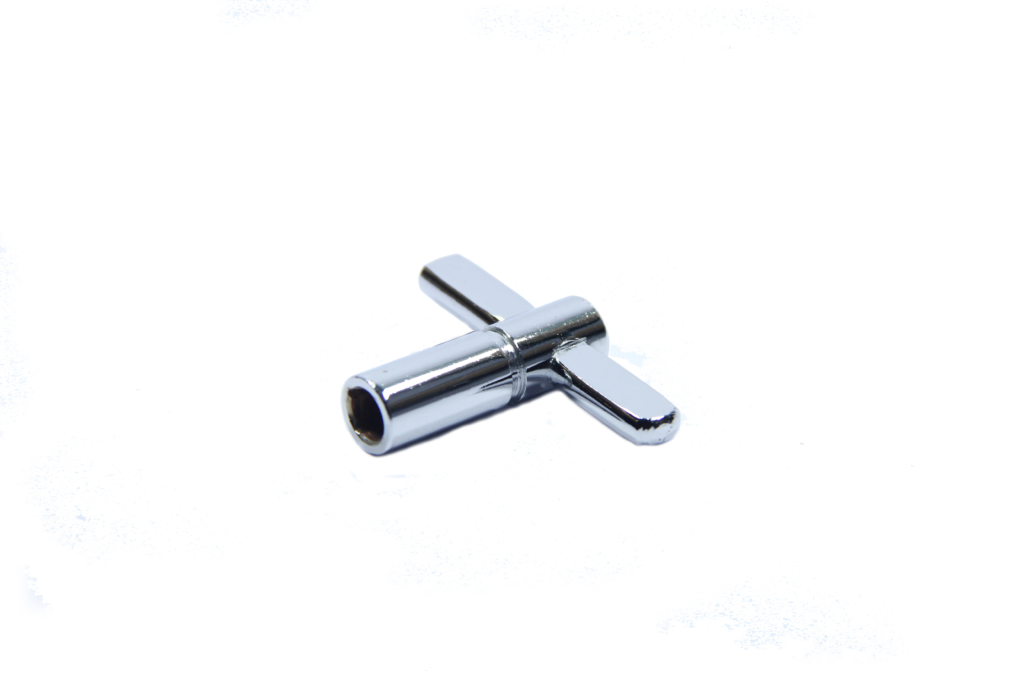
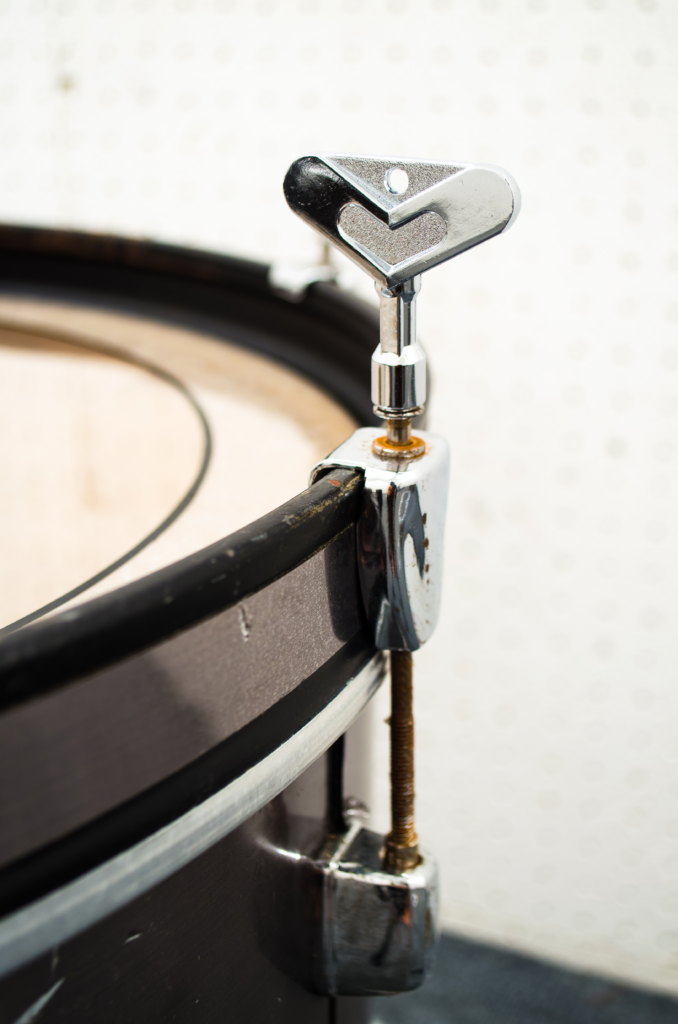
A drum key is a special kind of wrench used to turn drum lugs, which are the screws that hold the rim and head of the drum onto the shell.
They are very common and you can find them at most music stores that have percussion instruments. Or you can find them online.
2 – Check the starting pitch of the top head
Next, check the starting pitch of each drum. The most important thing is for the head to feel good to play on, but we’ll go into more detail about specific pitches later on.
For snares, you want there to be very little resonance to ensure a crisp, clean sound. Hit the drum right in the center of the head. When you hit the drum with your stick it should feel similar to hitting a table.
Tenors and basses should be more resonant, but still make sure they’re tight enough that things don’t get muddy. Higher drums will have more tension, lower drums a bit less.
When tuning snare drums, make sure the snares are turned off so that you can hear the pitch more clearly.
3 – Tune up the top head to the desired pitch
Now that you’ve checked the pitch, it’s time to crank that baby up!
During this step you want to make sure that you tune each lug up by the same amount in order to keep the head tension even.
The amount you turn the tuning key for each lug will depend on how low the pitch is when you begin, but generally a half turn for each lug is a good start.
An important thing to keep in mind is to always tune the lugs in pairs because that helps to ensure that you are keeping equal tension on every part of the drum head. And that will reduce the risk of you damaging the head while you are tuning.
After you tune a lug, always tune the one across from it by the same amount. Then, move to the lug next to it and repeat the process, tuning it and its partner across the head.
It doesn’t matter if you go clockwise or counterclockwise around the head, but it’s good to decide before you start so that you don’t lose track of which lugs you’ve tuned already.
4 – Fine tune each individual lug
Once you’ve gotten the head up to the pitch you want, it’s time to go a little more in-depth. Go around the head tapping the part of the head directly in front of each lug with a drumstick. Listen to the pitch of each lug and take note of which ones are lower or higher than their neighbors.
When you come across a lug that sounds lower than those on either side of it, tune it and its partner across the way up. This will require a much lighter touch with the tuning key, not more than an eighth of a turn at a time.
Ideally you want to only tune lugs up, not down, but it’s possible that at times you will have to break this rule. Repeat this process until each lug rings as close to the same pitch as possible.
5 – Tune the Bottom Head (snare drum only)
Once the top head is in tune, it’s time for the bottom head! This process really only applies to snare drums, as tenors only have one head per drum and both heads on the bass drum should be tuned in the same way since both are played.
This process is basically the same as tuning the top head, but generally you’ll want it at a bit of a higher pitch. It’s good to actually release the snares and take them off of the drum if you can, but this isn’t always practical (say, if you’re at a football game) and the head can be tuned without doing so.
The bottom head goes out of tune much less frequently since it’s not constantly being struck by drumsticks. It’s important to keep your bottom heads in tune, but doing so should be much less time consuming.
6 – Tune the other drums in the line
Now that you’ve gotten one drum in tune, you know exactly what to do for the rest of the line. A bit of good news is that you now have a reference for what pitch each drum head should be tuned to!
As you tune each drum, make sure that you are periodically checking its pitch with its already-tuned neighbor.
If all the snares on your line are tuned to the same pitch, your beats will sound much cleaner.
How To Tune Up Brand New Drum Heads
So you’ve got some new heads for your line and you know how to get the drums all tuned up, you’re all set right? Well, almost. Those shiny new drum heads aren’t doing you much good unless they’re on the drums now are they?
Changing drum heads is a very similar process to tuning them, but there are a few extra things you’ll need to do first.
1 – Remove the Current Head
Before you put the new head on, you’ll need to take the old head off. Take your drum key and loosen each lug until it spins freely, working in pairs. After loosening a lug, always loosen its pair directly across the drum just the same way you do when you tune the head up.
Once the lugs are all loose, use your fingers to loosen them the rest of the way until they are free of the lug nuts attaching them to the suspension hoop (the lower rim). Then, simply remove the top hoop and remove the old head from the drum.
2 – Put On the New Head
Place the new head on top of the drum where the old head sat. For the best look, make sure that the Remo logo (or whatever logo is on the head you’re using) is right side up from the point of view of the person wearing the drum.
Before you place the top hoop back onto the drum and start tuning it up, make sure you lube up each of the lugs. I’ve found that a little bit of Vaseline works best for this. This is to make sure you don’t strip the lugs when tuning the drum.
3 – Tune the New Head
You already know how to do this part! The only difference is that the head is starting as low as it can go, so you’ll have to crank it up pretty far. Tighten each lug with your fingers as much as you can before you start using the drum key.
Since the head is starting so low, you will have to be a bit more liberal with the number of turns of the key you use for each lug. Make sure not to give a lug more than two or three turns before moving on to the next one, or you could risk breaking your new head.
Don’t worry about any crackling noises you may hear when tuning up your drum. This is just the head stretching as you ratchet up the tension.
4 – Change the Bottom Head
For snares, just repeat these steps for the bottom head and you’ll be good to go! Unlike with tuning a head that’s already on the drum, removing the snares is a must for changing the bottom head. Most drums have a quick release that will let you take the snares off with ease.
What Pitch Should My Drums Be Tuned To?
Marching Snare Drum Tuning Pitches
Snare drums are generally tuned between a C5 and a D5. This varies depending on the type of drum and head you have, but it’s a good range to aim for. The most important thing is keeping every drum in tune with the others.
Tenor Drums Tuning Pitches
Tenors come in all shapes and sizes, so there’s really no exact pitch for each drum. What’s important with tenors is the intervals between the drums.
Starting with the lowest drum (drum 4 on a standard set with 4 drums and a spock), you should aim for a minor 3rd between drums 3 and 4, a minor third between drums 2 and 3, and a major third between drums 1 and 2. The spock should be cranked about as high as it can go while still sounding good.
Finding a good pitch for the lowest drum may take some playing around, or some more research on the specific instrument you have.
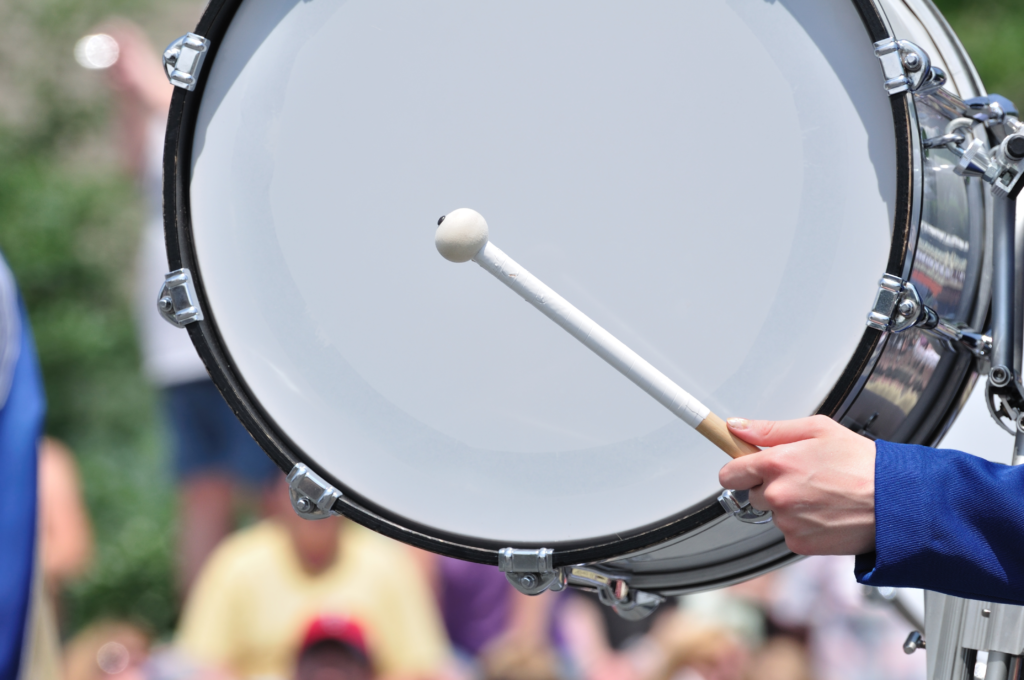
Marching Bass Drum Tuning Pitches
As with tenors, intervals are the most important aspect of bass drum tuning. Start by finding a good pitch for bass 5, the lowest, which again will likely take some experimentation or research into the specific drum and head you have.
Once you have bass 5 tuned to a good pitch, shoot for a perfect 5th between 4 and 5, a perfect 4th between 3 and 4, a major 3rd between 2 and 3, and a minor 3rd between 1 and 2. Keeping these intervals in tune will ensure that your bass line sounds nice and melodic!
Should Snare Drums Be Tuned To The Key Of The Marching Band Show?
The short answer is no. The pitch of the snare drums is not going to clash with the band even if it is in a pitch that is out of key with the band.
On top of that, many marching shows change key so depending on the show it can be a challenge to pin down one pitch for the snare drums that always fits into the key.
But either way, it is not necessary. Choose a pitch that makes the line sound good.
Marching Snare Heads Recommendation
Alright, so now you know all the steps to getting your line in tune! But what if things still don’t sound quite as nice as you’d like them to? Well, the solution may lie in the drum heads themselves.
The heads that drums ship with, known as “stock heads”, are often not the highest quality heads in the game. One of the surest ways to get your line sounding crisp and clean is to up the quality of the heads themselves.
For marching snare heads, I would recommend either the Remo White Max or Remo Black Max heads. White Max heads are going to be a bit crisper and less resonant, while Black Max heads have a warmer and fuller tone.
Other brands likely have equivalents to these two, and these guidelines apply to white heads vs. black heads in general.